


Description
This wallpaper is sold in packs of 3 strip(s) matching patterns:
180cm W x 280 cm H (60cm W x 280 cm H per strip)
70.8" W x 110.2" H (3 strips of 23.6 x 110.2 inches)
*This pattern connects to in infinity. Also available in bespoke size for higher walls.
Design: From the lightest, impalpable and cotton-like cumulus; to the nebulous density, mist and fog of the city. This wallpaper is available in bespoke size, clouds are placed according to your architecture.
Care & Maintenance: Special blends of natural materials makes this Wallpaper washable. To care for your wallpaper, we advise to gently wash with mild soap and a cloth.
Remark: The wall paper is certified FSC, and PVC free. We print using water based safe inks, totally odor free.
No plastic material for wrapping.
You may also like...
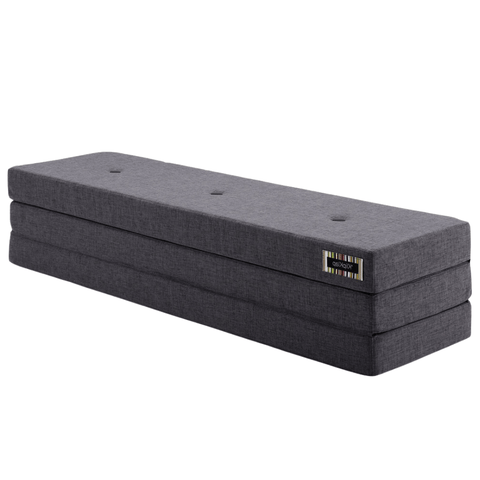
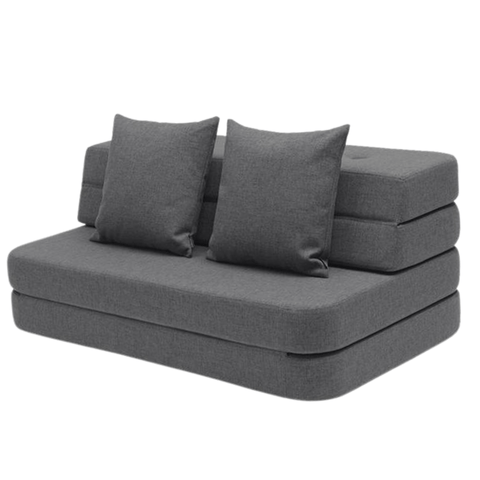
BYKLIPKLAP
3 Fold
$43,444.00
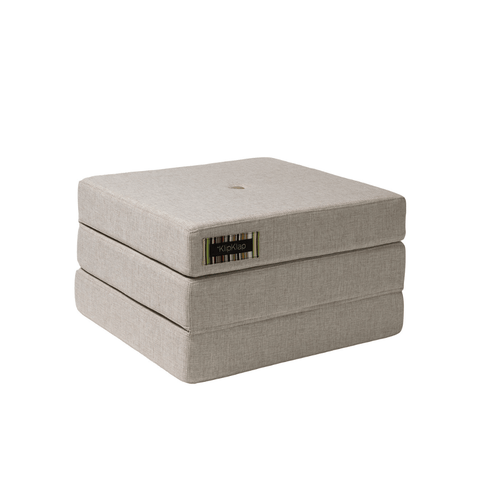
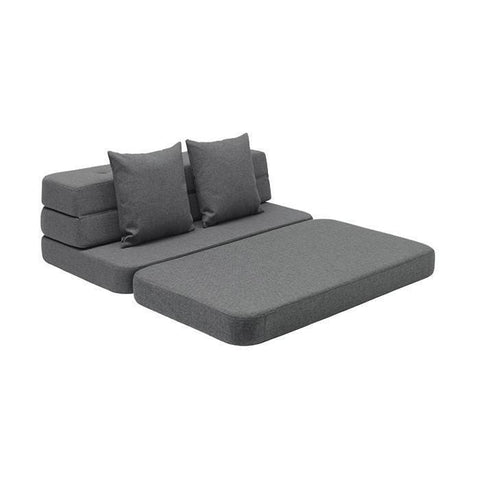
BYKLIPKLAP
3 Fold Single
$26,151.00
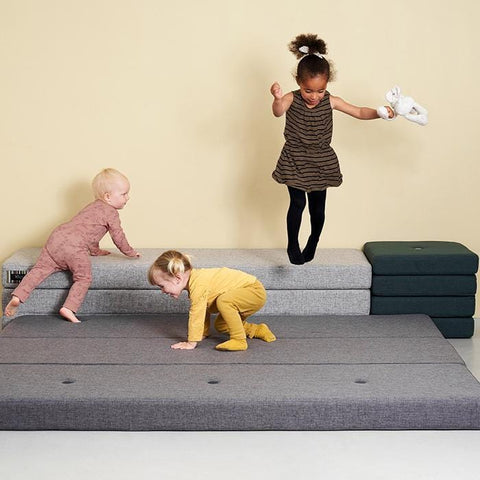
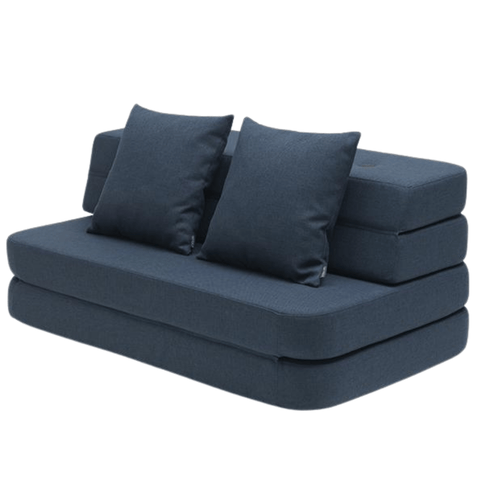
BYKLIPKLAP
3 Fold Sofa
$55,675.00
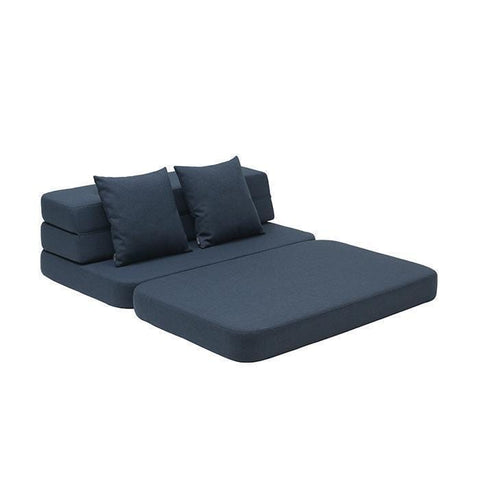
BYKLIPKLAP
3 Fold Sofa XL Soft
$63,268.00
Hanging instructions
Contrary to traditional wallpapers, you don’t need a wallpaper table. Paste is not to apply on strips before hanging, but directly on the walls !
Please read carefully:
1- Have a look on how the paper drops will be placed on your walls and please check they are matching to each other before pasting. If you see any default, please contact happy@bimboconcept.com. Each paper drop is numbered from left to right.
2- Cut the excess paper once the paste is fully dry!
3- You need a paste specific for non-woven wallpaper, please follow the manufacturer instructions.
You will need:
Paste for non-woven wallpapers
A sharp cutter (new blade ideally)
Paper hanging brush or clean and dry cloth
Sponge & water
Pasting brush or roll
Spirit level or plumb line
Scraper or upholsterer squeegee
1 – Preparation:
Your wall must be smooth and covered with a white etch primer.
If you had wallpaper on the wall, remove-it and sand the surface if necessary, then wash. Once dry, paint with a white etch primer.
If you wall was painted, sand and wash it, then paint with a white etch primer.
Remove switches and wall lights before hanging.

2 – Visual guide
Draw a vertical line as a visual guide from the left side of your wall, figuring out the width of your strip. Use your level to make sure it’s straight.
This will ensure you hang strips vertically – ceilings and corners are rarely straight !
Do this for each strip.

3 – Paste the wall
Apply paste generously directly on the wall surface where the 1st strip will be hung, using a pasting brush or roll. For a perfect finishing, apply paste further your visual guide, so the strip is really well pasted to its end.

4 – Hang the strip
Unroll the strip from the top to the bottom. If you are not sure the ceiling is perfectly horizontal, keep 2-3 cm of printed paper at the top.

5 – Smooth
Press wall covering onto the wall using a foam rubber roller to remove air bubbles and excess paste, from the center of the strip to the sides.
If paste goes onto your strip, no problem, you can clean it with a (clean!) sponge and some water. The paste being waterbased, it is easy to clean.
6 – Match
Repeat the same operation with the next strips, paying attention to matching patterns.
Our paper does not shrink when drying : therefore you only need to paste the next strip side–by-side with the previous. As long as the paste is not dry, you can remove, slide and replace the drops.
For a perfect finishing, use a scraper to flatten the connection.

7 – Cut
Once the surface is full try, cut the excess paper at the top, bottom, left and right. Use a very sharp (new) cutter.
8 – Your decor is ready !
You now only have to send us a nice picture of your well-done job, we are always glad to see the result !